
Learn the Zenon way of making tunes!
With 12 of our core artists as your instructors!
300 EUROS

Overview
This course is a product of our knowledge and resources, manifested during the global situation.
You will get to know us better, we'll show you the tools at our disposal and how we actually use them to produce the results you've all heard on dancefloors around the world, back when we used to party freely every weekend.
What you Need
- A computer with internet connection
- A headphone or a pair of audio speakers
- A DAW installed on your computer
What you get
- More than 20h of content
- Detailed insight into the workflow and creative process of our artists
- Discounts for our next educational initiatives
Modules
Click on the topic for brief description of each module:

Total Module Duration - 2:27:44
1 - Introduction (02:47)
Who will teach this masterclass? What will be our goal? And some initial considerations for the student.
2 - Studio (01:23)
A brief presentation of my studio; DAW and equipment that will be used for the masterclass.
3.1 - Methodology and Theoretical Foundations (06:55)
In this class, we talk about methodology; how to apply and develop a method within the production of electronic music. In addition, I present which methodology we will use on this masterclass; and also, our object, the kick drum.
3.2 (14:21) - In this class, I answer, present and discuss the following questions: What are the theoretical foundations of the kick drum? What is history and its components? When (and if) should I use a sample on my kick? And finally, what is the importance of the kick in relation to sound aesthetics?
Link to the article on Kick Drum history and components: https://www.ableton.com/en/blog/drop-it-kick-electronic-music
4.1 - First steps in creating the Kick Drum (10:25)
In this class, I speak about the production time for a kick drum; which instruments exist for creating a kick drum; I make a brief introduction about kick 2, the instrument that we will use on the masterclass.
4.2 (09:44) - In this class, I show the kick in its final form and some considerations regarding my view about the choice and verification of notes and their frequencies.
5.1 - Shaping the wave in pitch (12:52)
In this class, I start the kick synthesis process. From your initial wave, shaping the pitch. In addition, the importance of the pitch drop time (ms), the calculation and what is the right time to use on the kick. And how to use the kick time resources to shape the punch.
5.2 (08:45) - I make a comparison of the pitch modulation of class 5.0 with the final sintering. And I show how important it is to work the kick attack from the drop of pitch, to complement the punch.
6.1 - Shaping the wave in the amplifier (14:46)
In this class, I move to the second Kick Drum synthesis process. The volume envelope and I show how the kick can take shape from a good envelope in the kick amplifier.
6.2 (04:28) - In this second part, I review the previous class and show the importance of releasing unwanted frequencies in the amplifier for better dynamics and homogeneity with the bass.
7 - Clicks and high frequencies (12:32)
In this seventh class, I incorporate high frequencies to the kick attack and show how this element makes the kick drum more pleasant and more punch. And finally, I show a technique that is widely used by great artists of the Zenonesque.
8.1 - Equalization inside the instrument (10:44)
In this class, I show the equalization inside the kick instrument. How to correct some errors and be present in certain key frequencies for a good kick drum.
8.2 (08:03) - Part two on equalization inside the instrument; and some advice regarding unwanted frequencies in the kick, and why it is more advisable to fix the problems in the shape and not in EQ.
9.1 - Kick Drum Processing (16:47)
In this last practical class, I show my kick group, and the way I use some external plugins to finish the synthesis process of the kick drum.
9.2 (12:02) - Continuation of the first part, where I continue showing and comparing the kick before and after processing.
10 - Closing (01:10)
Closing of the Masterclass and thanks.

Total Module Duration - 1:30:00
1 - Introduction
Discussion about the importance of Basslines and my thoughts on why they are so mystifying to new producers. Also Information regarding the DAW of choice I will teach with and some of the Plugins used in the class.
2 - Synthesis
An in depth walk-through of synthesizing a Bassline as well as a description of the anatomy of a Synthesizer.
3 - Post Processing
Exploring the onboard effects of Serum and how we can use them to personalize our Bass.
4 - Third Party Post Processing
Using some of my favorite third party plugins for further altering the timbre in order to create something unique and driving.
5 - Phase Alignment
An in-depth explanation of what exactly “Phase” is and its importance in the Kick and Bass relationship.
6 - Kick EQ
In order to further Gell the Kick and Bass
7 - Bass Articulation
Various ways we can create variation in our new Bassline through synthesis.

Total Module Duration - 2:02:03
1- Introduction to Drum Synthesis (15:53)
In this video we will begin this course by synthesizing some basic percussion sounds within Ableton Live, using Operator. We will cover the role of envelopes and filters in the creation of drum sounds, while creating our own hi-hats (open/closed) and snares. Finally, we will also make some basic groovy arrangement with the sounds made in this video.
2- Drum Synthesis Part 2 (14:49)
In this video, we will begin exploring alternative tools for creating percussive sounds. We will be utilizing Ableton's drum racks and slicing features to create experimental and unique drum sounds. We will then proceed to find interesting ways to arrange the percussive sounds in such a way as to generate some catchy dialogues between our percussive sounds.
3 - Drum Synthesis Part 3 (17:45)
In this video, we will explore the use of physical modeling based synthesis in our music. We will be using Ableton's Collision instrument to understand the concept of this approach as well as how we can make an entire custom drum rack with these instruments.
4 - Drum Arrangement (18:20)
In this video, we will explore the possibilities of max for live sequencers to create novel and interesting grooves, while also exploring ways to incorporate polyrhythms into our music.
5 - Drum Arrangement Part 2 (17:55)
In this video we will go in depth into the strategies that can go behind creating an effective dancefloor moving groove. We will cover the concepts of repetition and dialogue in order to add catchy rhythms to our music. We will not be using anything fancy for this except our own imagination.
6 - Sampling Part 1 (19:02)
In this video we will begin exploring the possibilities of sampling and re-sampling audio as a way to create percussive sections. We will be using Ableton's Simpler in this video, slicing audio into it, and exploring the many ways we can play with the sound with this approach.
7 - Sampling Part 2 (18:16)
In the final lesson, we explore sampling in greater depth, using both Simpler and Sampler to generate percussive grooves. We will also explore some of the ways we can start to get our beats to generate themselves (self-generative) using stock Ableton plugins.

Total Module Duration - 1:11:41
1 - Introduction (02:30)
Who is Adama? Inspiration for creation. What are we about to do. A bit about the course.
2 - Where to start (04:22)
Melodies - easier than you think. What a melody is?
Adama’s “Rules of Thumb”. Where to actually start?
3 - Melody: Arpeggios (19:28)
In the session we’ll talk about arpeggios. How to write it. Lengths of a lead like that and how to bled it well in the track
4 - Melody: Synthesized Bass (09:26)
In this session we’ll write another kind of a melody. A groovy bass sounded line that creates movement and addes more depth to the track. We will talk about development, changes and more.
5 - Melody: Main lead pt.1 (18:06)
In this session we will go step by step writing the main lead of the track. We’ll talk about the length. The sound. Developments and post process for adding extra interest.
6 - Melody: Main lead pt.2 (17:51)
In this session we will go step by step writing the main lead of the track. We’ll talk about the length. The sound. Developments and post process for adding extra interest.

Total Module Duration - 2:10:23
1 - Introduction (06:43)
Introducing myself and some of my musical history. how i got to use ableton live and why I like it.
2 - Studio (03:29)
talking about my studio setup and how one can make music without fancy gear. and the importance of enjoyment and fun in the studio.
3 - Introduction The Class (04:54)
Brief talk about what I'm going to teach in the class and talking about important of flow, not getting stuck and getting good sounds easily.
4 - Lead With Sampler (06:00)
In this class, I show how to make a FM style lead using a recorded sample in sampler. using an arpeggiator for looping a wavetable. and then some ways of fattening up a sound.
5 - Pad With Sampler (08:26)
In this class, I show how to make a pad using an organic sample in sampler.
Using the loop function in sampler to achieve a specific waveform and using octaves to fattening up the sound.
6 - Pad With a Sample In Serum (08:59)
In this class, I show how to using a sample as a wavetable in Serum and making a pad out of it.
Using Serums and abletons fx for proccesing the sound, making it more lively and changing.
7 - Lead With a sample In Serum (09:17)
In this class, I show how to make a lead sound using a sample as a wavetable in Serum.
Showing how to fatten up a the sound with layering a similar sound together and proccesing is in a group.
8 - Pad with a Sample In Audio (07:50)
In this class, I show how to make a pad using an audio sample in ableton.
Showing how to make a rumble turn in to a tuned pad by creating resonances in the sound. Further proccesing to make it more intersting . resampling for further proccesing. and showing how to make also an atonal atmosphere.
9 - Hi Hat With Sampler (05:43)
In this class I show how to use a recorded sample in sampler and making a hi hat out of it. showing ways to process hats and also how one can layer them for further processing.
10 - Shaker With Sample In Audio (04:25)
In this class I show how to use a recorded sample in audio and extracting groove out of it. further processing. and explaining the use of beats mode in ableton to achieve grooves with any sound.
11 - Snare With Recording Voice (03:55)
In this class I show how make a snare by recording your own voice. explaining about snares in psytrance. and showing how to proccess the recording to your liking.
12 - Lead With Recording Voice (10:01)
In this class I show how make lead stab by recording your own voice.the possibilities of proccesing and making different sound out of it. layering other sound with it and using the gate is a trigger for adding layers to the sound.
13 - Sampling a Song as a Pad (04:09)
In this class I show how to sample a song and making it into an atmospheric pad. showing how to stretch a sound and use texture mode in ableton.further proccesing for getting a sound more interesting.
14 - Crash With Audio (06:34)
In this class I show how one can use any sample as a crash fx in a track.ways of proccesing. and the concept of a falling sound effect.
15 - Fill With Audio (06:45)
In this class I show how to use recorded sample as a drum fill in a track.
the difference between quantized and unquantized rhythms. further processing to make a sound more realistic. layering for fatter sound.
16 - SFX with Sampler (05:27)
In this class I show how make a sound effect using a recorded sample in sampler. using the arpaggiator to make an interesting rhythm effect. further processing for more intersting sound.
17 - Examples From My Tracks (24:39)
Showing examples of sampling in three of my tracks. sharing some background about the tracks, showing how each one had different proccess and there is not only one way to make tracks.
18 - Closing (03:07)
Parting words for the class.

Total Module Duration - 1:50:50
1 - Introduction (02:38)
Introducing myself and some of my past and music journey.
2 - Studio (02:43)
Talking about my gear in my studio.
3 - Methodology, what is Zenonesque (06:18)
Introduction to Leads, a brief look at how and when to use Leads, what defines the Zenon sound regarding leads.
4 - Wavetable Synth intro (01:20)
Introducing the Wavetable Synth from Ableton, brief overview of the synth.
5 - Lead Methodology Wavetable (36:34)
Discussing how to use Leads briefly, We start sound-design and begin tweaking Wavetable. Content creation
and basic arrangement techniques and automation
5.1 - Checking the track (09:04)
We check and listen to the track and wavetable work we have done.
6 - Midi Techniques (09:18)
We look at arrangement techniques with Midi, we cover two techniques i like to use.
7 - Serum Leads (13:25)
Introduction to Serum and preparing a lead
8 - Serum 2 (15:06)
Fm technique, Exploring Wavetables and External Wavetables from other Wavetable Packs.
Basic Lead arrangement theory and mixing.Shaping the lead with effects and also panning with Pancake.
9 - Arrangement (11:28)
Overview of the Synth work we have done, discussing arrangement of the lead parts and track progression.
Looking at techniques for easy arrangement by muting clips.
10 - CLOSING (02:56)
Peak into my favourite plugins and what I use them for.

Total Module Duration - 2:16:16
Total Module Duration - 2:16:16
1 - Introduction (03:47)
I start with saying hello and then I tell you a bit about myself. You also learn roughly what the module is about and what to expect.
2 - Our First Sound: The Short Squelch (21:48)
We start things off looking at the arrangement and deciding where to place the first sound. Let's start simple with a mini-hook, something to get the character of the track going.
Loading the subtractive synthesizer Polysynth, we first find the rhythm, where to place our notes. With a few simple notes in a tight loop we can start sculpting the sound itself. We dial in the oscillator and filter settings and use modulators to create movement.
With the sound placed in the timeline it's time to start automating selected parameters to create tension and random movement.
3 - The Second Sound: A Dusty Chord Stab (15:48)
We use a copy of the first sound as the starting point, to sculpt this second sound into something unique. This second sound is more complex and builds on what we did in the first exercise. Again, timing is highly important, and we use an LFO to give the sound its rhythmical character. With unison and detuning we give our second sound the sinister vibe our song sorely needs.
4 - Using the Two Hooks to Create a Transition Into The Break (18:42)
Identifying the right tweaks is no easy thing. In this exercise we twist the character of our two existing sounds and use them as a bridge into the break. We work with different note clip techniques, audio effects, and tons of automation. This work covers both the grand schemes and finest details. We paint both with broad strokes and fine brushes.
5 - A Rhythmical Riser For The Transition (18:13)
We bring in a further sound to support the transition and climax of the first song section. Continuing with our friend Polysynth, this time we look deeper into using noise, distortion and wave folding as a basis of our sound. We then use modulators to make the sound dance, and evolve over time.
6 - Bonus: Cleaning Up Overlapping Notes Using Layered Editing (03:35)
Give each sound its own space to get a cleaner mix. Address this problem at its core–namely, in the time domain. To make sure no two sounds happen at the same time, we use layered editing to move around notes that occupy the same space (time).
7 - A Bombastic Ravey Chord-Stab Pt1 (17:20)
When the big sound should hit is important, so let's look at the arrangement so far. For this sound we turn to Phase-4, an excellent additive synthesizer with four oscillators. Tweak as many knobs as possible to dial in the stab sound and we are on our way. After adding some effects, it's time to find the melody.
After recording a quick take, and cleaning up the notes, we bounce down a set of single notes to create reverse-and-forward fillers that can be placed together with the main melody, as well as other places in the timeline to tie the song together.
8 - A Bombastic Ravey Chord-Stab Pt2 (14:51)
We move forward, further refining the sound: using velocity edits to nicefy the filter envelope over time. Let's create a copy so we can experiment with additional audio effects. Let's have these audio effects come in every now and then with specific notes. For this we look at how layers and selectors can be used creatively.
At the very end we stumble across a miniature version of the reverse-forward stab swoosh that helps us advance into the next section.
9 - Bonus: Always Duck Your Reverb (05:06)
Here's a good trick to add heaps of reverb or other effects without cluttering your sound. Bitwig Studio's modular device structure and handy modulation system can be used to quickly and flexibly put together a ducking setup.
10 - Bonus: Here's Why You Should Reset Your Automation Curves (02:08)
After spending so much time making amazing automation curves, here's how not to fool your future self. Just reset your curves after you've done, let me show you an example.
11 - The Psytrance Riffs (14:47)
Finally some psytrance gnarls. In this video we look at not one but two psytranceristic synth sandwiches. Using Phase-4, we bring about some harshness in our song, plotting out a psytrance riff, and a supporting riffy friend. This time with some interesting repeating modulation and shifted cycles playing on top of each other. Phase-4 really is a kickass synthesizer.
Of course, we need to make decisions on where to put the notes in the clips, where to put the clips in the timeline, and what to automate to make life worth living.
12 - Outro (00:10)

Total Module Duration - 2:46:15
1 - Introduction (01:37)
Video where I talk about me.
2 - Studio Walk (02:33)
Video where I show my studio and my most important pieces of gear.
3 - About my Masterclass (01:12)
Info regarding what I'll talk about in the master class.
4 - Notions of Waveforms and Harmonics (07:42)
In this video I will give a brief notion of how to read waveform diagrams. I also make a tour on the basic waveforms as well as the understanding of 'Harmonic Partials'.
5 - Basic Subtractive Synth Architecture (10:02)
In this video I talk about the basic architecture of a subtractive synthesiser, explaining the main parameters of its modules.
6 - Common Types of Synthesis (07:18)
In this video I talk about the different types of synthesis we can use, to start sculpting our sounds.
7 - Environment Building (07:37)
This video is the first of the studio practical sessions, where I start by building up a little environment that will trigger some new ideas.
8 - Creative Use of Filters (15:48)
Introducing "Comb-Filtering" with sample-based synthesis, to create an abstract type of sound.
9 - Advanced Synthesis (31:46)
Creation of a 'tonal' environment through the means of Additive Synthesis and Ring-Modulation.
Using 'Granular' to create some artifact sounds.
Followed by another use of filters to create a 'riser' that leads one section of the track into the other.
10 - Call/Response and Environment (45:35)
Here I start to build a 'conversation' with different types of sounds that relate with each other. Then I pay another visit to the last section of the intro to refine it a bit more with the creation of a more specific “technological atmosphere”.
11 - Environment and “Motif” (33:36)
In this video I proceed with a small refinement of the initial atmosphere.
Then I start creating some "motifs" that grab the attention of the listener, also separating the first part of the track from the Intro.
I then record a synth phrase in real time and slice the audio file to get independent smaller parts.
12 - Final Thoughts (01:29)
Here I present my final thoughts about the masterclass.

Total Module Duration - 1:58:10
1 - Introduction (01:21)
2 - Layering Instruments & Stacking Fx, Audio Sampling and Editing (33:49)
In this class i will demonstrate how to produce a layered gated bass mid range synth sound . The sound i have taken from a collaboration produced by myself along with “Dirty Hippy and “Grouch” which will be due on my upcoming album with Zenon records. I will be using “Native Instruments” “Reaktor” and using the ensemble “Razor”, Serum and the native Ableton plugins within this class. Il will be covering re-sampling , audio Fx’s and the Layering involved i used to produce this sound.
3 - Time Stretching , Fm synthesis and sampler modulation and automation (36:37)
In this class i will be showing how i use the time stretching and audio editing features within Ableton to make creative source material that can be further processed into your tracks. I will also cover fm synthesis using Ableton’s “Wavetable” instrument. Lastly i will demonstrate different ways of making very experimental sound design using loops within a sampler, automation and how to process the recordings.
4 - Granular Arpeggiator re-sampling and audio editing (26:17)
In this class i will continue in the same project from Lesson two and be showing how to make a granular synth using just a basic sample within the arpeggiator in Ableton. I will cover the further processing required to create completely unique micro edits than can be used within your arrangements. These process’s will be demonstrated using the different warp modes, using time stretching, and cutting up audio within Ableton and also the various audio effect’s that can be applied to your edits.
5 - Creating abstract source material using Reese bass Techniques, audio sampling and micro editing (20:06)
In this class i will be working in another collaboration project “ Airi & Evil Oil Man “ another project featured in my upcoming album with Zenon records. I will show a technique i have used to make moving bass sounds or layers that could be described as a “ Reese Bass” or a “Neurofunk” Bass. However this lesson is more focused on this particular technique and how it can be used to open door’s to create very unusual and unique source material to then be further processed into very personalised and abstract layers. Mainly i will be working within Ableton’s “ Operator” instrument.

Total Module Duration - 2:02:49
1 - Introduction (01:24)
2- Studio Walkthrough (3:23)
3 - Infinity Loops (34:43)
In this section learn a neat trick using the Ableton native sampler, that I used to do on an MPC 2000 XL when I first learning about music production in college. Using Ableton you can use this technique in much more complex ways and achieve a vast array of textured pad sounds.
4 - Synthesis (28:57)
In part two we explore the world of samplers. We concentrate on two specific types of synthesis; FM & Wavetable. To demonstrate these techniques I shall be using the native Ableton instruments Operator (FM) and Wavetable.
5 - Foley & Post Production (30:47)
In this section experimental sound design will be the main focus. I will demonstrate how we can use basically any sound and using audio manipulation techniques warp, bend, destroy, augment and stretch audio into wonderous atmospheric sounds.
6 - Reverb Magic/Layering (23:37)
In part four I will share a wonderous technique using reverb to create huge, expansive and ethereal pads. Also we shall be consolidating some of the previously demonstrated methods and go deep into layering to create rich and harmonious soundscapes.

Total Module Duration - 1:30:29
1 - Presentation & Setup (5:36)
Introducing Amortalist as a musician and showcasing my studio setup.
2 - The Module (03:01)
Presentation of the module, talking about the usual arrangement of a Zenon / progressive psytrance track and focusing on beliefs such as : technique doesn't mean good music, and while it definitely helps, conveying emotions and writing a story is more of a subjective training.
3 - Session Setup (06:00)
Preparing for arrangement and learning the importance of setting up your session template.
4 - ABCD Music Structure (05:21)
Talking about the common logic and patterns of musical arrangement and progression in Zenon Music and EDM in general as well as giving a bit of music theory regarding song structuration.
5 - Intros (11:06)
From no intro to long intro, teasing future elements and atmospheres of the track, opening with a hook and preparing for the first verse.
6 - Verses (12:01)
Learning about selecting specific elements to progressively build and tease the driving part of your track in preparation for the chorus.
7 - Choruses (15:12)
Talking about the importance of clarity and not overcharging choruses, teaching some techniques or some mind sets and logic to think about when arranging a chorus.
8 - Breaks & Bridges (10:14)
Setting up bridges to add variation to the main elements of a track, resetting the attention of the listener with breaks.
9 - Build Ups & Drops (10:16)
Talking about builds and drops of any kind as a way to heighten the energy of a section and give a sense of urgency.
10 - Outros (04:37)
From no outro to long outro, recalling previous elements of the track to end it in a memorable way.
11 - Building tension, cohesion and Bending the Rules (06:32)
Sharing my personnal beliefs about arranging elements and sections in a way that creates progressive or sudden tension and teasing to make specific elements shine brighter and increase a track's emotivity. A quick take on building a logic story with a satisfacting start and end, letting things be when they are logical enough without constantly looking for perfection that will evolve based on neuroacoustics and your current mood, but also how to bend the rules when you've understood and assimilated the previous topics.
12 - Credits (00:34)

Total Module Duration - 1:40:12
1 - Introduction (01:48)
Short introduction of myself and my background as a music producer and mixing and mastering engineer.
2 - Studio tour (07:23)
Short video about my studio and which equipment I use for my mixing and mastering work.
3.1 - Great mixing - Theory (02:48)
The basic principles behind a good mix. What makes a mix great. What is the theory behind a great mix. How is it structured.
3.2 - Great mix - Technical Aspects (07:12)
How to achieve a great mix. The theory about the sound and how it behaves in a great mix. About the principle of depth, stereo image and overall balance.
4 - Listening (02:53)
Everything you need to know about how to listen while mixing. Equal loudness curves and their effect explained.
5 - Project Structure (03:31)
How to set up your project for a mixing session. How to set up your tracks and forward them to groups.
5.1 - Project Structure - Sending FX (03:15)
How to set up your Send Fx for the mixing session. Which Send Fx you can use and why you should use it.
6 - Mixing Order (01:52)
Explain in which order you should mix your individual tracks and why it makes sense to do so.
7 - EQing (05:52)
Everything you need to know about EQing when mixing. EQ techniques explained.
8 - Compression - Part 1 (05:50)
All about compression. Explanation of the basic settings of compressors. Different types of compressors (VCA, FET, Opto and Vari Mu compressors). When to use compression.
8.1 - Compression - Part 2 (09:14)
Examples for the installation of a compressor. Compressor techniques. 2 compressors in a row.
8.2 - Parallel and multiband compression (12:58)
Explain when and how to use parallel compression and multiband compression
9 - Processing Low End (10:20)
Everything you need to know about low-end processing. Special tips and tricks to help you achieve a better result in this frequency range.
10 - Hihats and Snare (04:34)
Some tips, approaches and tricks on how to mix hihats and snares. How to make the hihats tighter and more pleasent for the ear.
11 - Processing the Bassline Group (08:14)
Explain how to process the baseline group so that you get more pressure, glue and tightness in your baseline.
12 - Processing the Drums Group (05:52)
How to process the drum group so that the drums sound tighter, with more pleasure and better translation through the mix.
13 - Processing the Lead Group (03:24)
What you can add to the lead group to make it cut better through your mix.
14 - Referencing and Outro (03:14)
Tips on mixing with references and how important they are. Last words from my side.
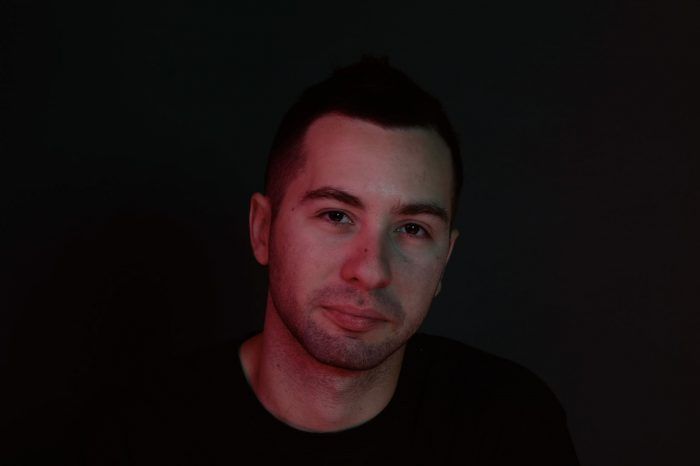
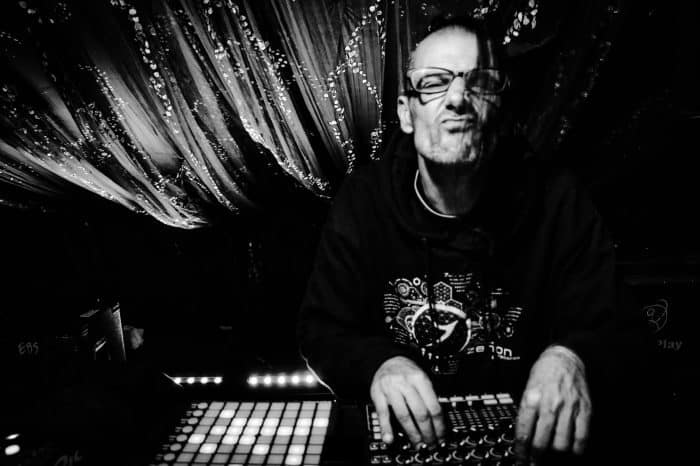
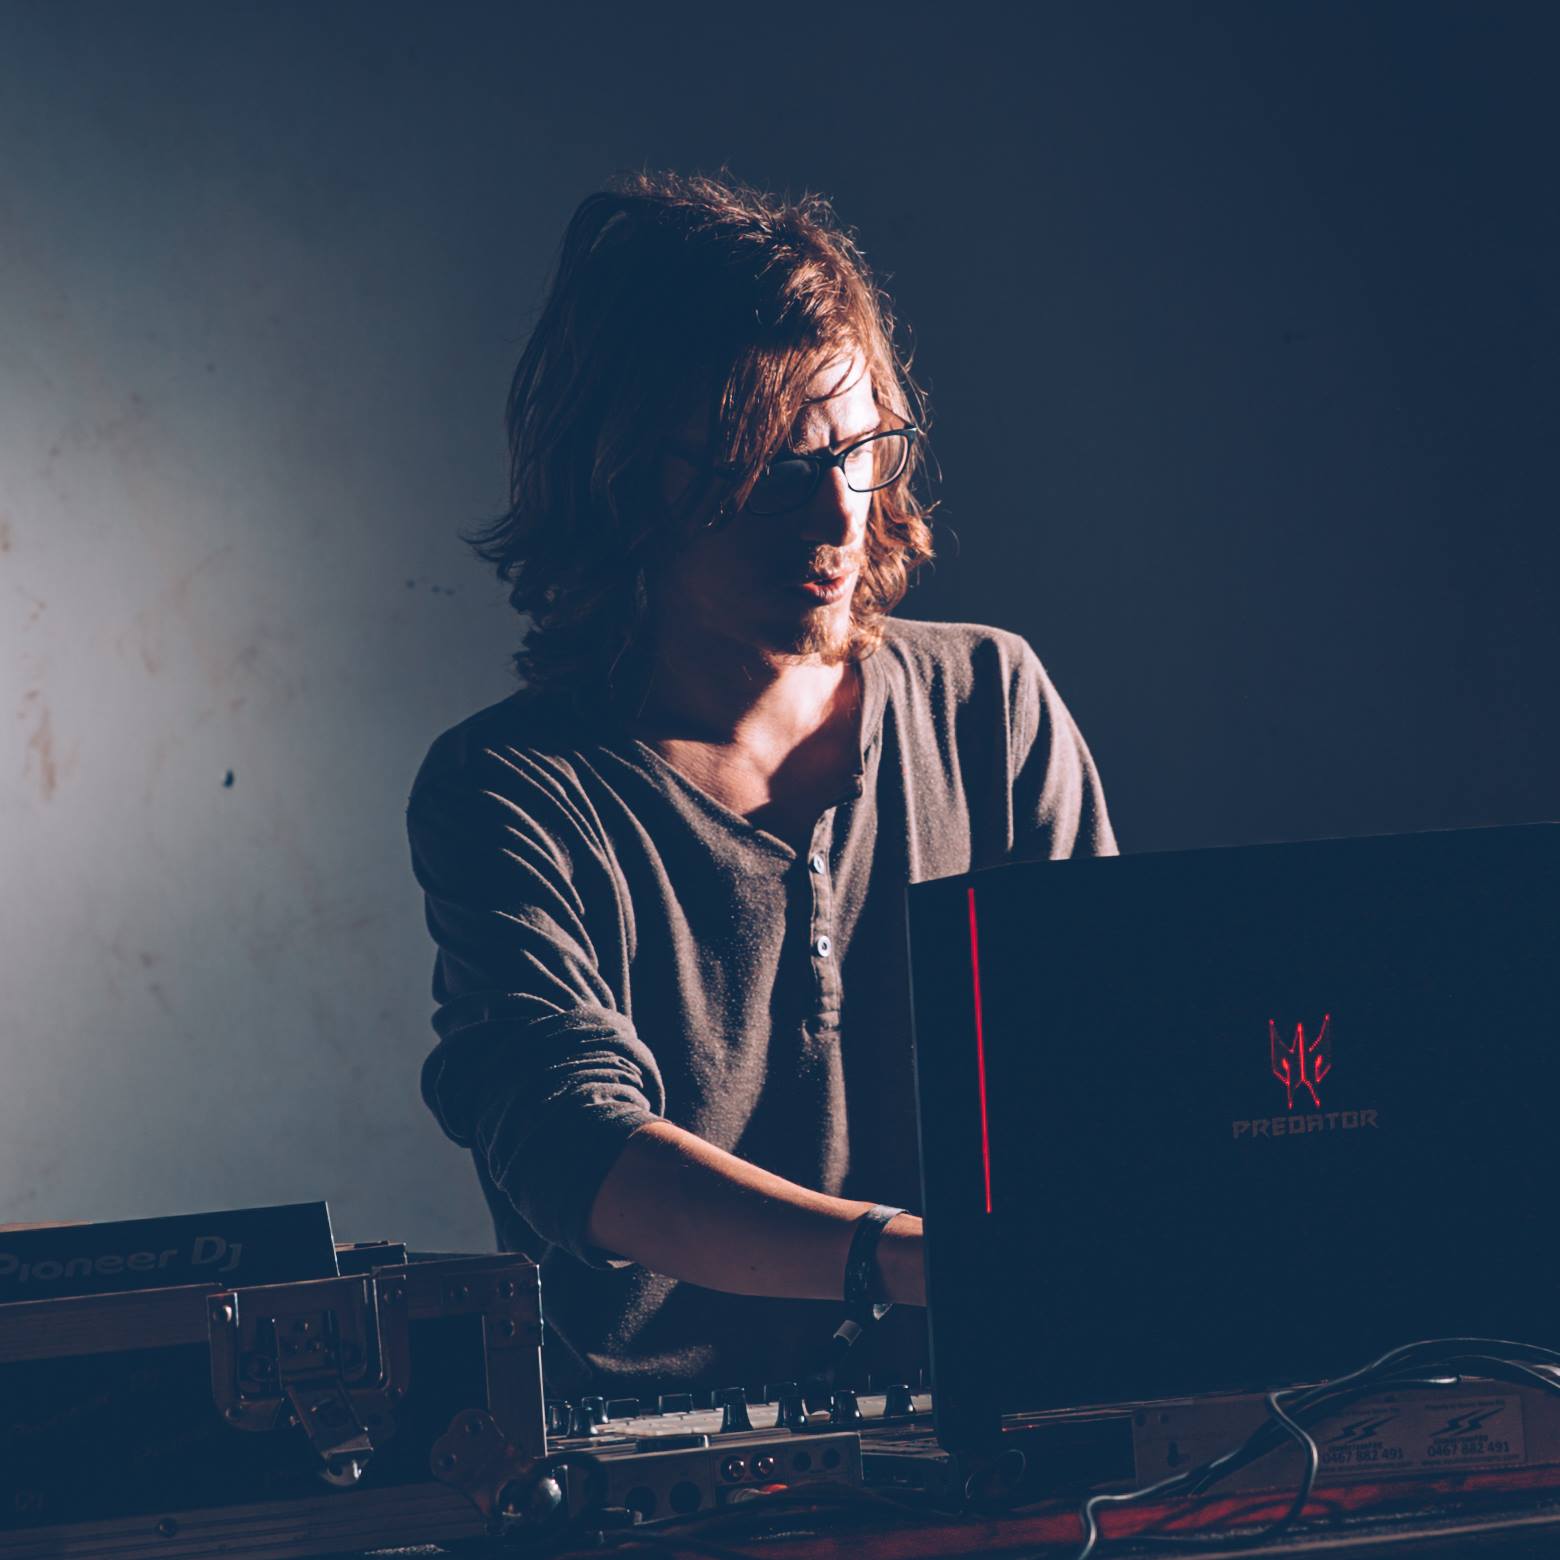
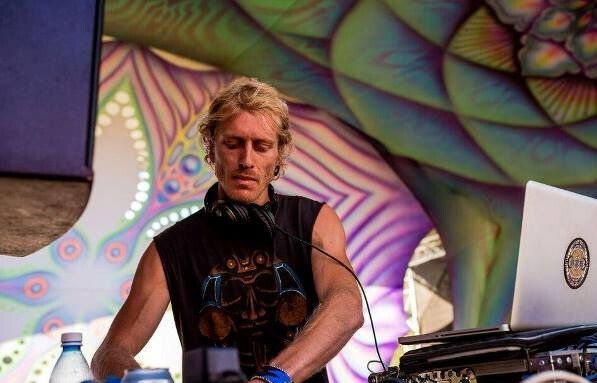
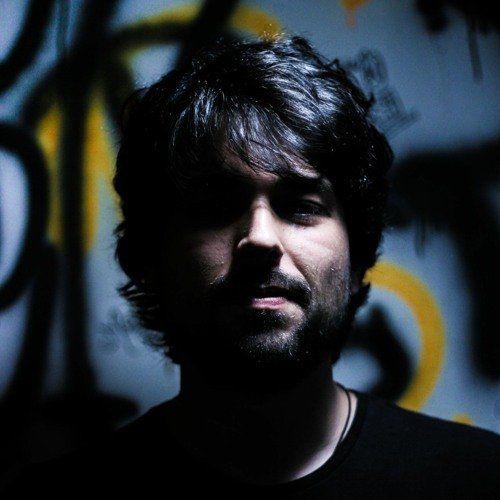
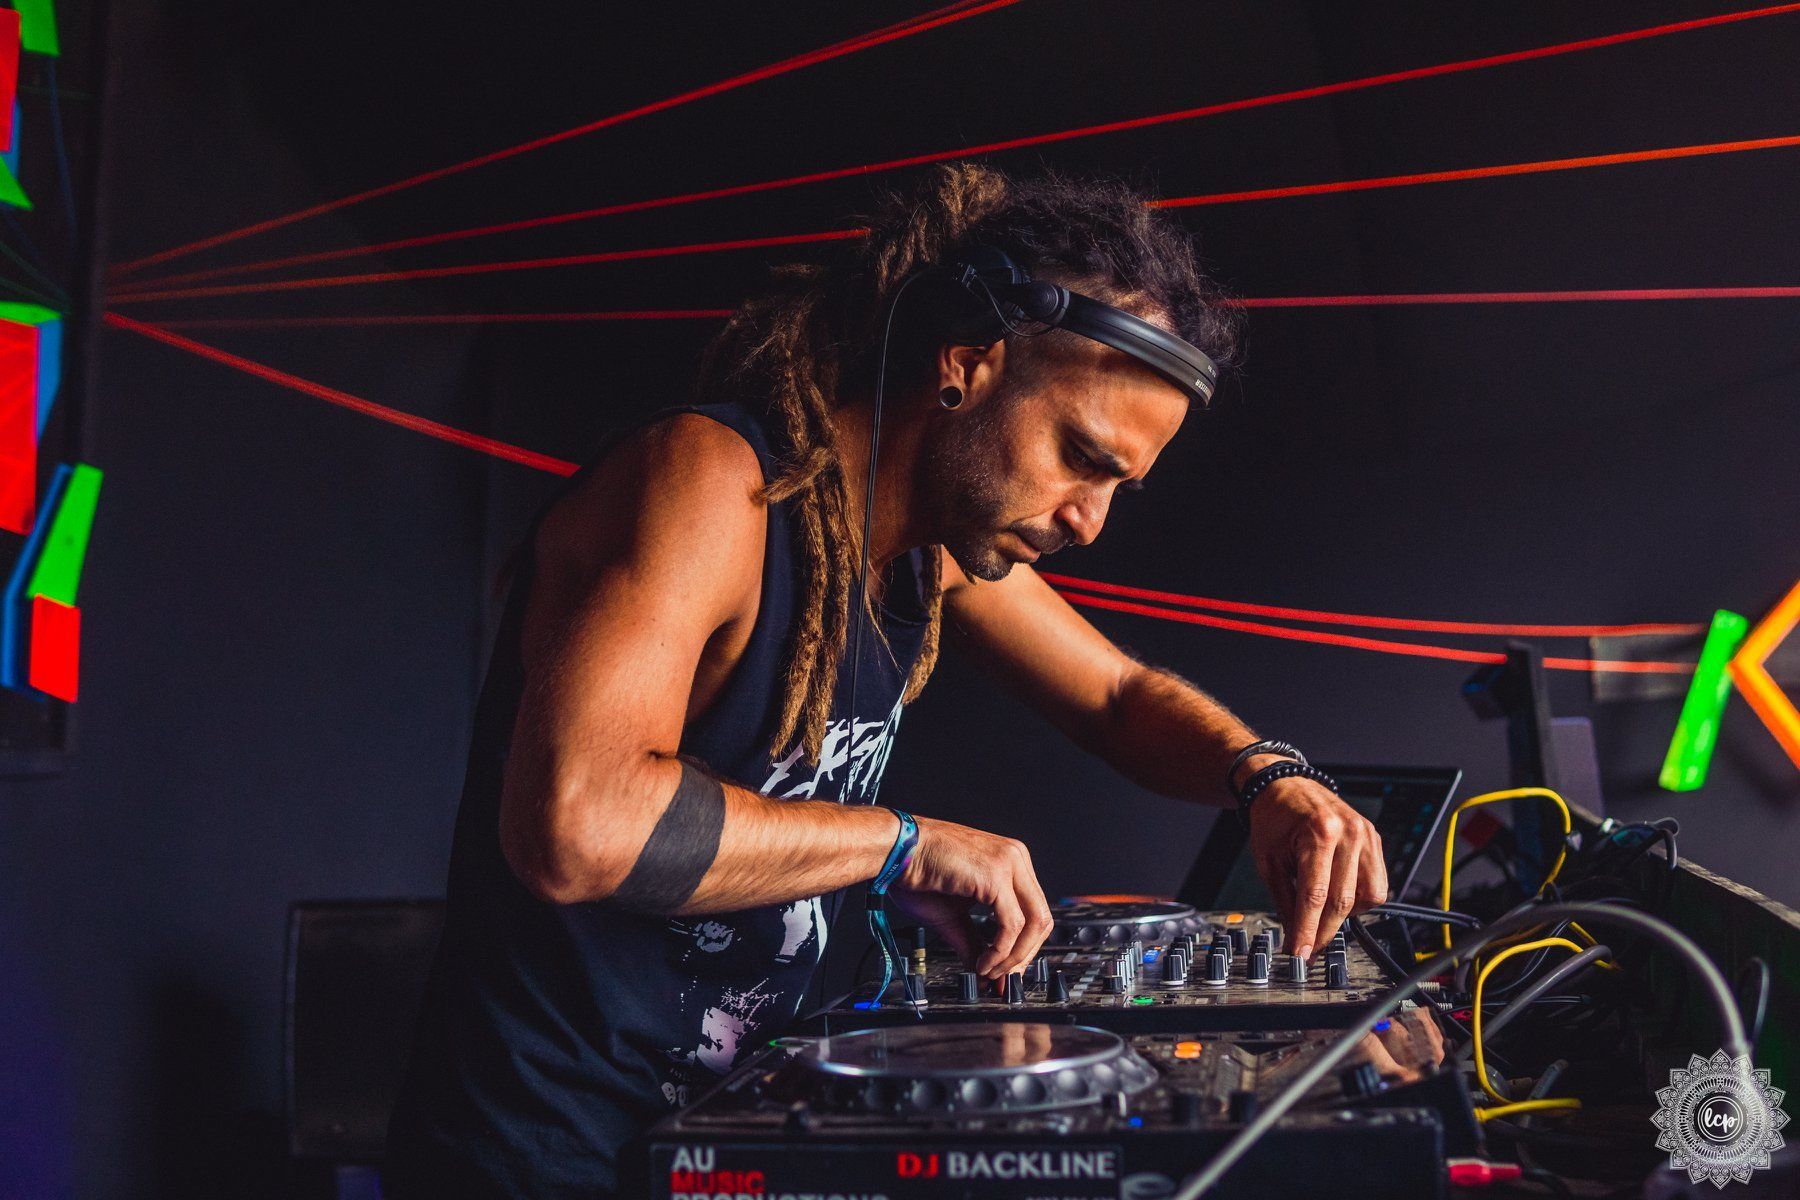
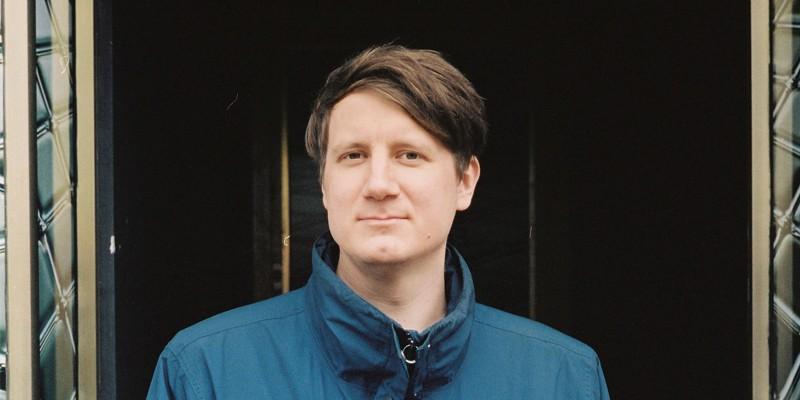
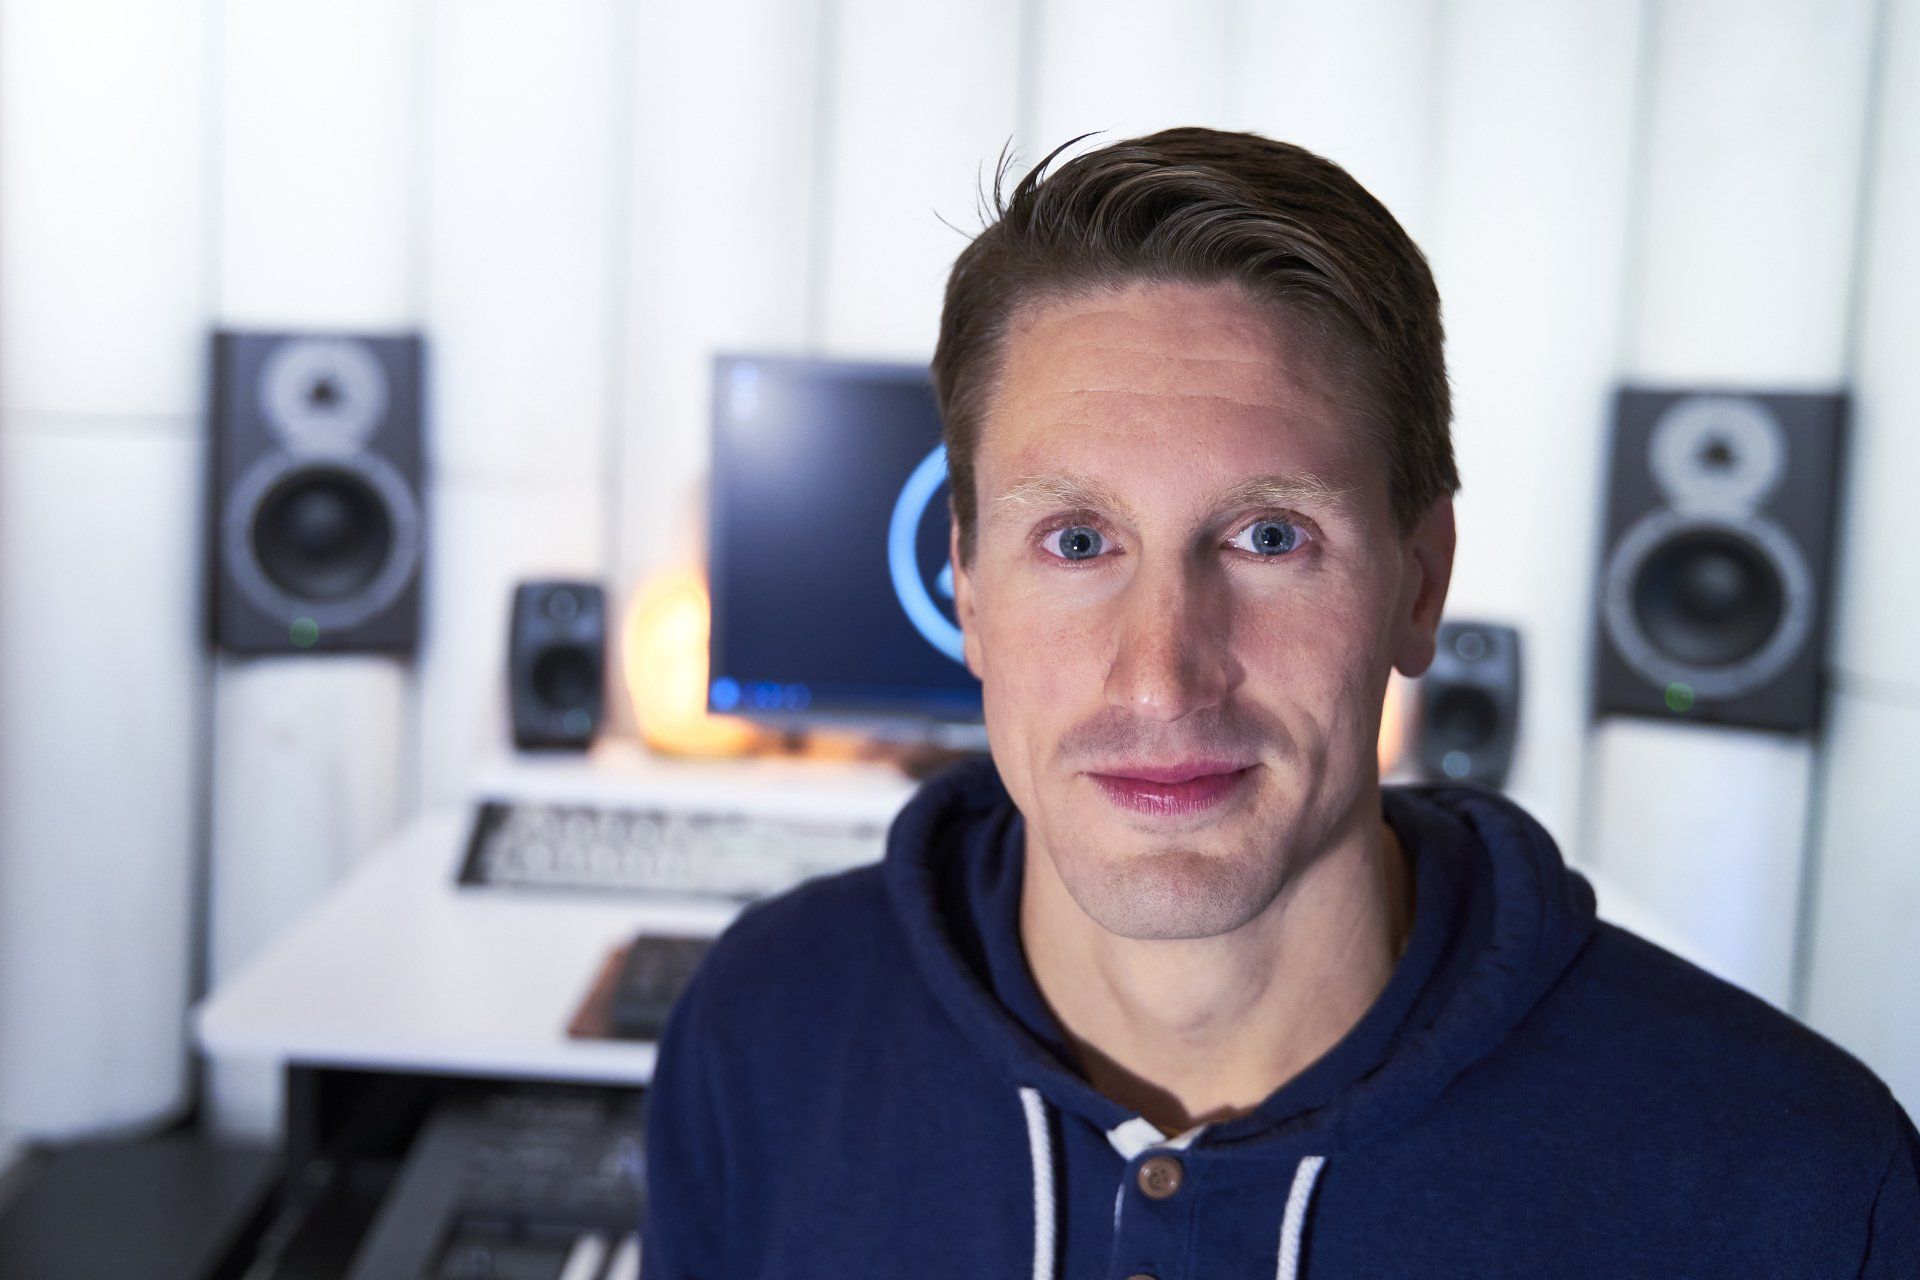
Instructors
-
![]()
Adama
ButtonMelodies
-
![]()
Amortalist
ButtonArrangement
-
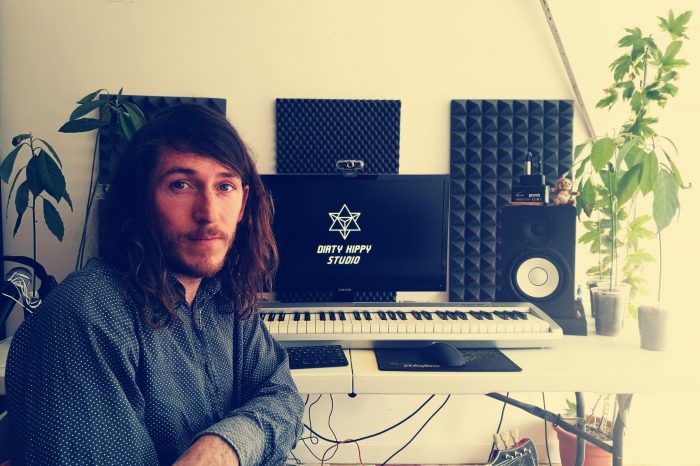
![]()
Dirty Hippy
ButtonAtmos / Pads
-
![]()
Evil Oil Man
ButtonSound Design 2
-
![]()
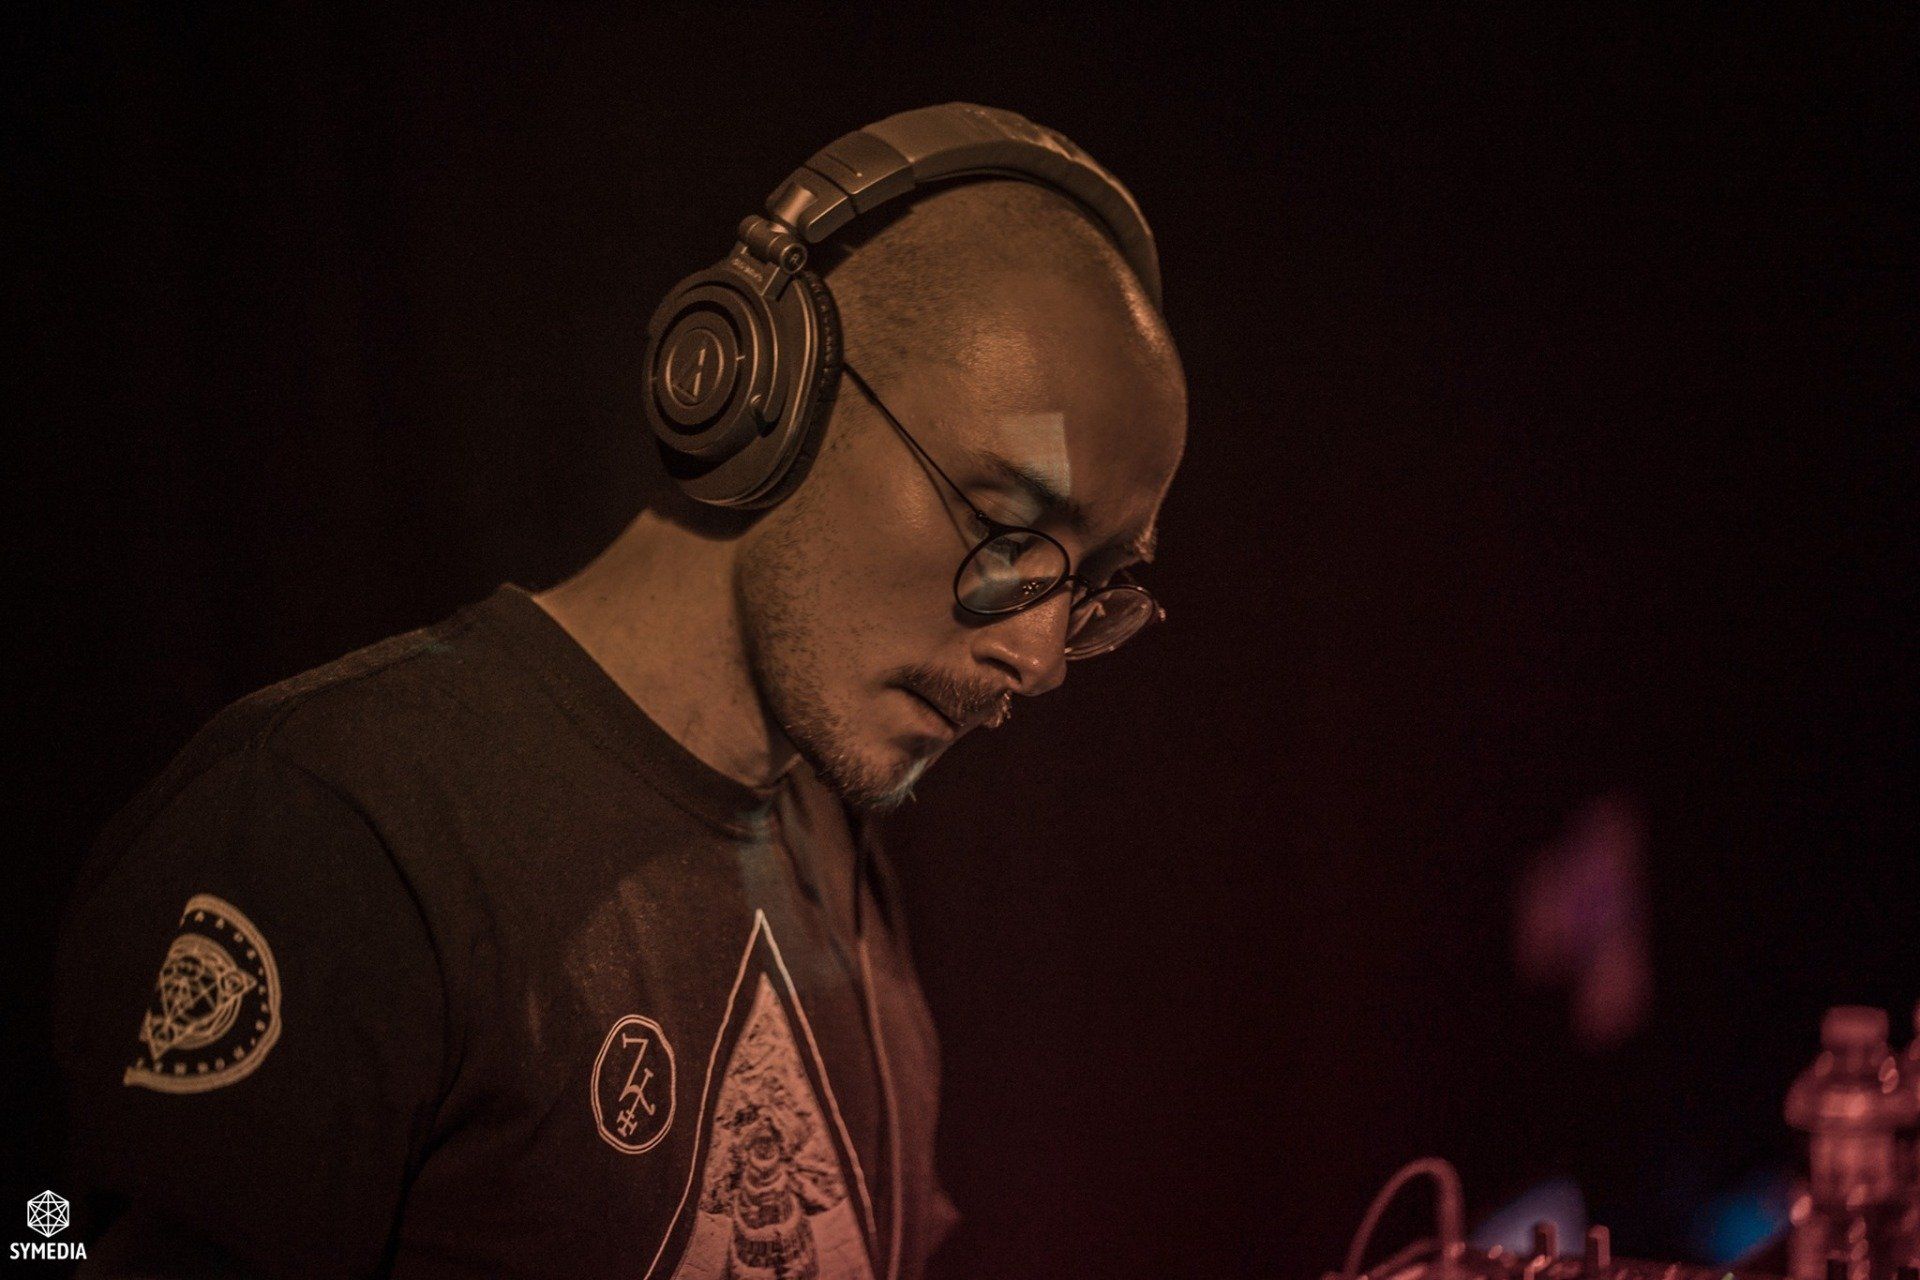
ETN
ButtonSampling
-
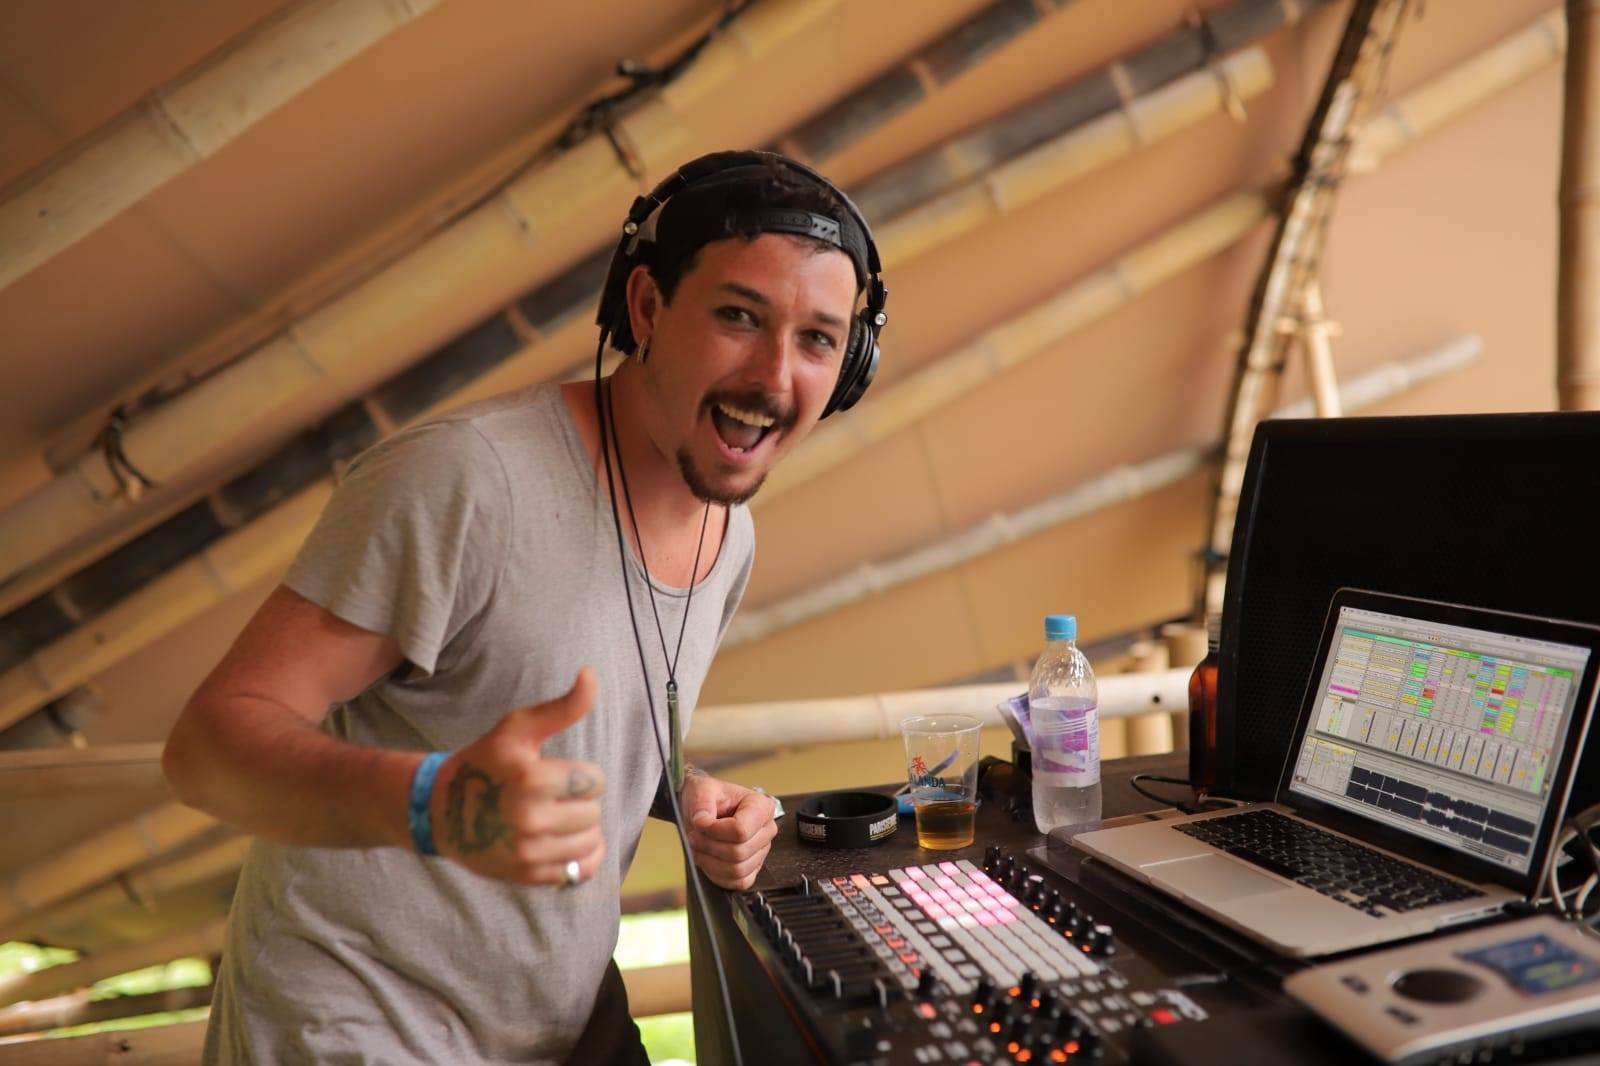
![]()
Grub
ButtonSound Design 1
-
![]()
Mirror Me
ButtonPerc / Drums
-
![]()
KAbi
ButtonLeads
-
![]()
Klipsun
ButtonKick
-
![]()
Kromagon
ButtonBass
-
![]()
Krumelur
ButtonStabs / Hooks
-
![]()
Zeamoon
ButtonMixing

FAQ
LEGAL NOTICE
The sale of this product is facilitated by Hotmart. The platform does not have any editorial control over the products sold, nor does it evaluate the technical references and experience of those who create them. The existence of a product and the possibility of purchasing it on the platform does not constitute a guarantee of content quality or results under any circumstances. By purchasing the product, buyers acknowledge they are aware of this information. Hotmart's terms and policies can be accessed here at any time, even before the purchase is completed.